


How to Perfect Your 2 Point Position
Learning how to adopt a 2 point riding position is essential training for any aspiring hunter or jumper equestrian. A solid 2 point position will help keep you balanced and moving in harmony with the horse and allow him to use his body and muscles more effectively. Learning a strong 2 point position early in […]

Learning how to adopt a 2 point riding position is essential training for any aspiring hunter or jumper equestrian.
A solid 2 point position will help keep you balanced and moving in harmony with the horse and allow him to use his body and muscles more effectively. Learning a strong 2 point position early in your jumping career will also set you up for success as you begin to tackle more demanding obstacles and more complex courses.
In this article, we’ll take a look at what exactly the 2 point jumping position is, why it matters, and how to perfect it.
What is 2 Point Jumping Position?
2 point goes by many other names, such as half seat, forward seat, galloping seat, and jumping position.
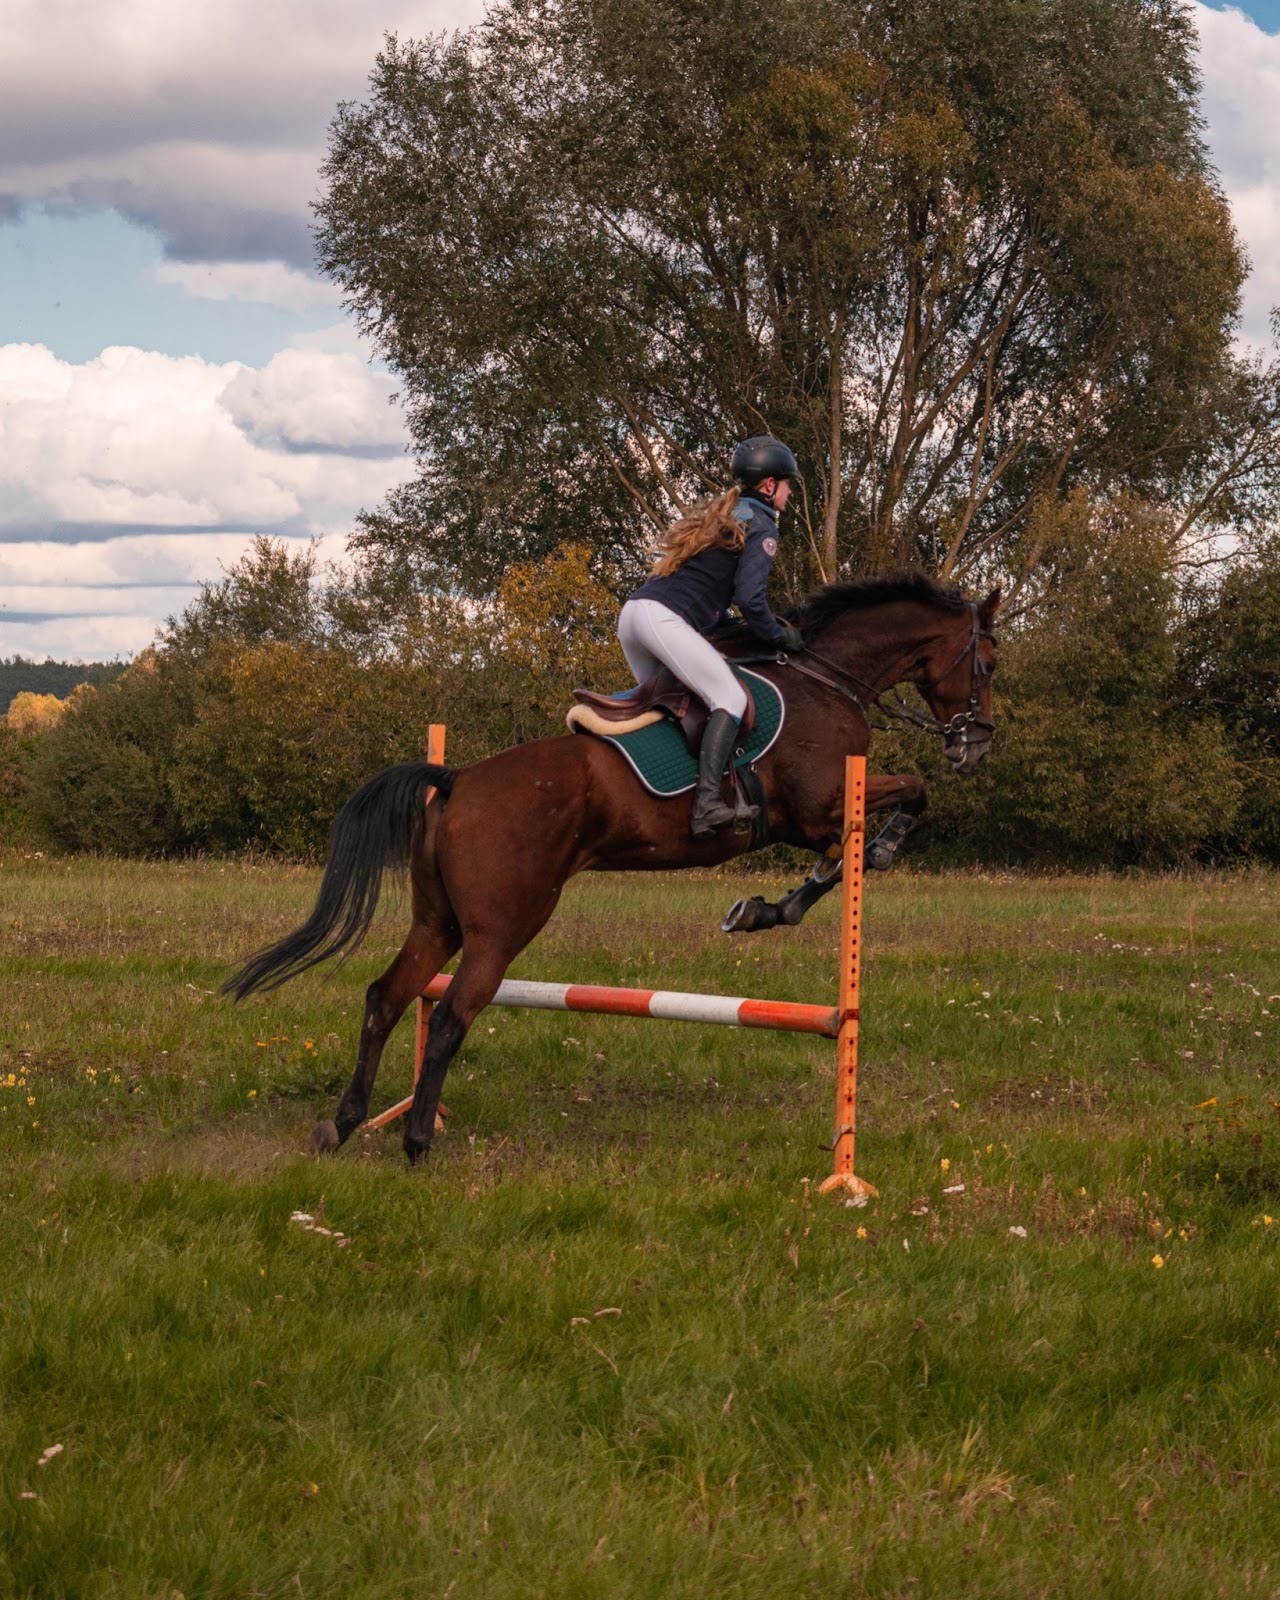
Whatever you call it, you’ll notice a few common traits that characterize it – the rider is up and out of the saddle, evenly balanced but bent forward at the hip in a “ready for anything” sort of stance. When jumping, the 2 point position remains more or less static – the rider allows the horse to jump and “into” her, rather than trying to anticipate the movement and jump “for” the horse.

Why is it Called 2 Point?
The jumping position is called 2 point because the rider’s legs form two points of contact with the horse – the rider’s left leg, and the right leg. There is no seat contact.
Your “normal” or full seat riding position is called 3 point because you have three points of body contact with the horse – your left leg, right leg, and seat. 3 point position lets you communicate with your horse via your seat, which is why it’s the preferred seat for most flat riding (and it’s a lot easier on your thighs, too!).
What is the Purpose of 2 Point?
It’s entirely possible (although not advisable) to jump without adopting a 2 point position, so why all the fuss about getting up and out of the saddle?
2 point jumping position serves two main functions.
First, it gets you off the horse’s back, which allows him greater freedom of movement. This allows him to use his body more effectively, like to fully extend his back and legs while galloping and to bascule (round) his back while jumping.
Secondly, 2 point shifts your center of gravity forward, to match the horse’s effort and forward movement. This makes the jump effort easier for your horse and reduces the likelihood of you getting “left behind”, or falling behind the movement.
It’s important to stay with the horse throughout the jumping effort for a few reasons – if your center of gravity moves back too far too quickly, you risk pulling on the horse’s mouth or slamming into the saddle, both of which are uncomfortable (or downright painful) for the horse. Since horses learn through repetition, a repeated painful experience will quickly dissuade the horse from wanting to jump, leading to more refusals, runouts, and other undesirable behavior.
Now that we know what 2 point horse riding position is and why you should do it, let’s take a look at exactly how to do it.
How To Do 2 Point Jumping Position
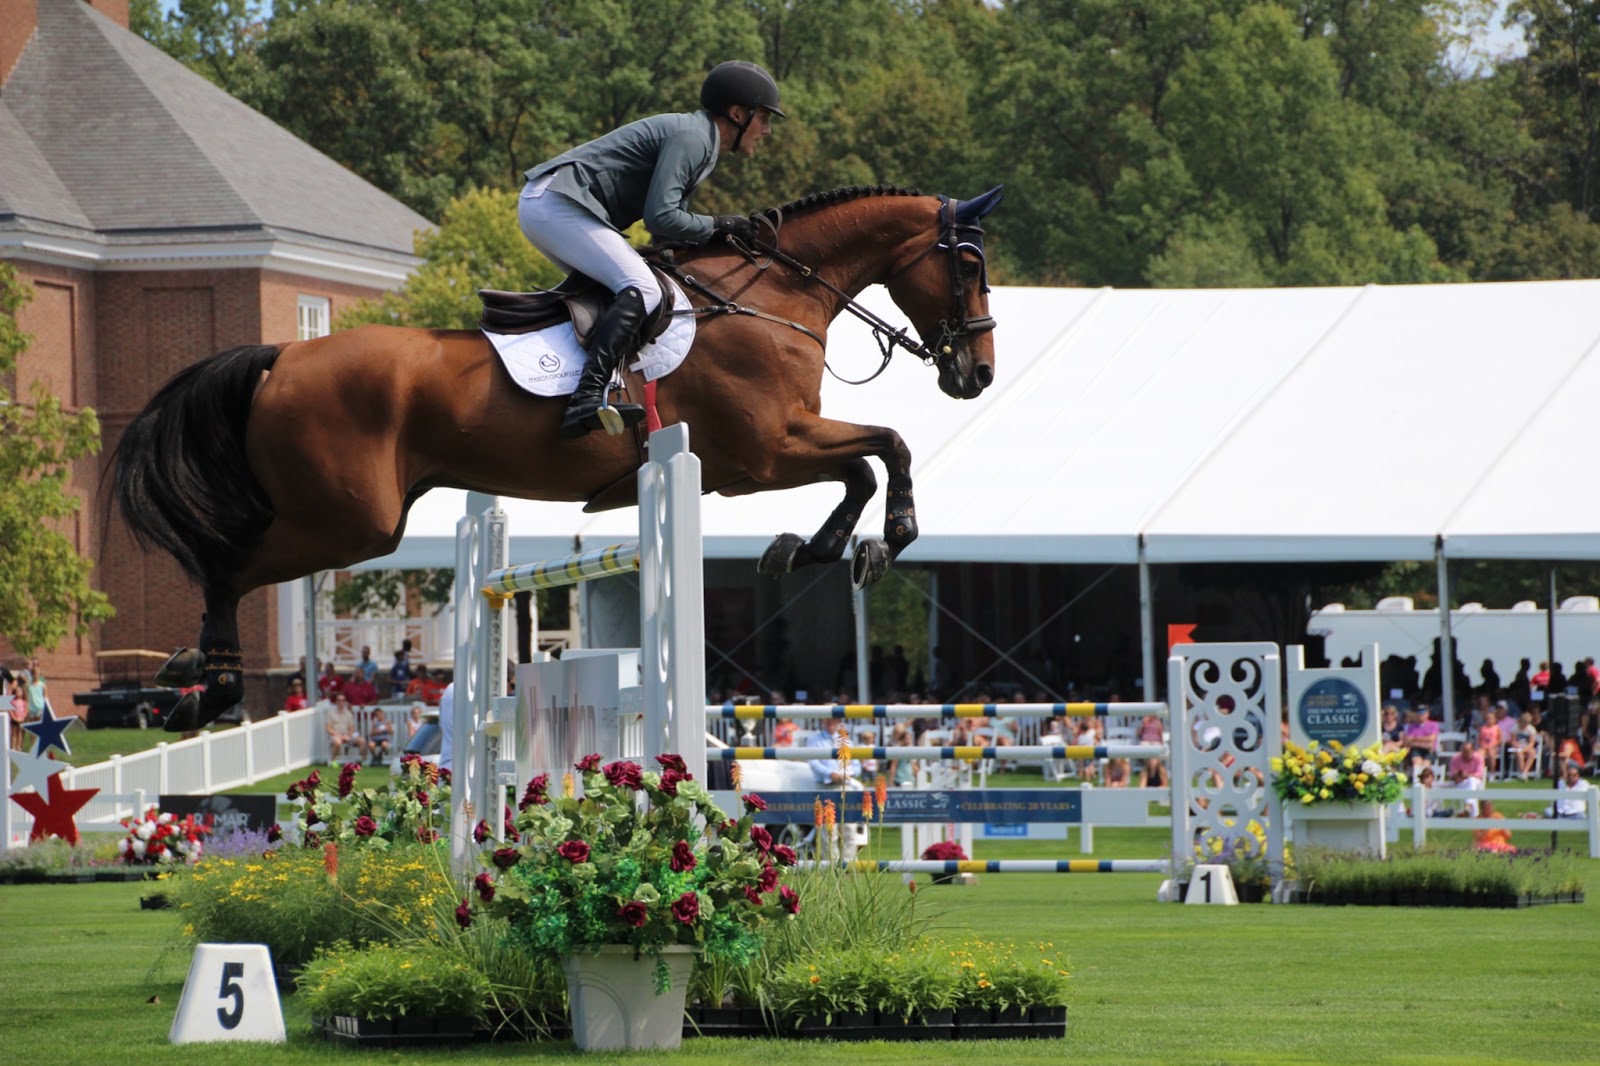
Watching Beezie Madden sail through a jump-off may make a picture-perfect 2 point look as natural as breathing, but a strong 2 point jump takes a bit of theoretical understanding and a whole lot of practice.
Chances are, your coach will introduce this key skill on the flat at the walk, eventually progressing to trotting poles and small jumps. You can also make 2 point practice part of your walk warm-up, challenging yourself to hold the position for longer and longer periods of time.
To help you out, let’s break down what the ideal 2 point position looks like, based on each part of your body.
Head
Most riders focus on their legs and hips during a 2 point position, but where you’re looking is just as important.
Your head should be up, and your eyes looking up and forward. Your head weighs about 11 lbs. (even more when you add a helmet) so keeping your head up helps maintain your balance. Looking down adds more weight to the forehand and makes you more likely to tip forward and restrict your horse’s movement.
Resist the temptation to look down at the jump while you’re jumping it. A helpful reminder from one of my old coaches: “Where you look is where you land!” So don’t look down.
One critical exception to this is when jumping a course. Typically, by the time you’ve taken off for one jump, you should be looking towards your next jump and “seeing your line” (the path you’ll take to get there). You’ll need to guide your mount to the next obstacle as soon as he lands, so giving yourself time to look while in the air makes for a much smoother line.
Shoulders, Back & Chest
Keep your shoulders level and back. Resist the urge to round your shoulders and drop your head and neck. This can cause you to “roach” or round your back, which will throw off your balance and cause your head to pitch down and forward.
Your back should be straight, and form an unbroken line from your shoulders to your hips. Even if you’re looking to the left or right to see your line to the next jump, keep your spine straight and avoid twisting your back to the left or right.
This last bit of advice may sound strange but – try to stick your chest out, as though you’re leading with your breastbone. This will make you less likely to collapse through your shoulders and round your back.
Hips & Seat
When jumping, you’ll ‘close’ your hip angle.
This can sound confusing at first, so it may help to think of it this way – the hip angle is the position of your upper leg & thigh relative to your body. When you’re riding normally in 3 point position, your hip angle is ‘open’ – there’s a lot of space between your thigh and body. When you’re in 2 point position, you close the hip angle, creating less space between your upper thigh and body.
Your seat, like we already mentioned, will come slightly out of the saddle a few inches. While it comes out of the saddle, it shouldn’t move ahead of the saddle much. For example, your crotch should not be in front of the pommel (front part, just over the withers) of the saddle.
Throwing your seat forward too much results in “jumping ahead” of the horse – a common fault in eager riders who are anticipating the jump and trying to jump ‘for’ their horse, instead of ‘with’ the horse. This is a fault because it puts more weight than necessary on the horse’s forehand, which means he needs to produce a bigger jumping effort to clear the jump. It also means you’re more likely to fall forward off the horse if he refuses.
Arms & Hands
Think of your arms in the 2 point horse riding position as well-oiled hinges, with your elbow joint as the hinge.
Keep your hands and elbows soft- it’s more important that you follow the horse’s movement in a sympathetic way, rather than achieving a picture-perfect angle. Where exactly you position your hands will depend on the type of crest release you’re using.
For beginner jumpers, the long crest release is preferable because you’re probably still perfecting your balance over fences, and a long crest release reduces the likelihood of jabbing your horse in the mouth if you become unbalanced.
To perform a long crest release, move your hands about ⅓ of the way up the horse’s neck, and press your hands against either side of his mane. This will do two things – it will provide support for your upper body, and it will create a loop in the reins, which gives him a lot of freedom to stretch his neck and back over the fence.
As you progress, your coach will introduce a short and automatic crest release. But regardless of which type of release you’re using, your basic 2 point position will remain the same.
Knees & Legs
With your seat largely out of the equation, your legs will form your base of support in 2 point, so it’s important to focus on your lower half.
Your upper thigh will engage to help close your hip angle. If you’re not accustomed to jumping, you may find your thighs get exhausted pretty quickly in 2 point. (Tip: practicing your 2 point at the walk will help to develop those muscles, and you’ll find the fatigue lessens over time).
Next up are your knees. The ideal knee angle for jumping is about 90 degrees when seated, which is why riders typically shorten their stirrups a hole or two for jumping. A shorter stirrup will help you achieve this angle, and will also help you get your seat out of the saddle.
Your knees should be in contact with the saddle, but should not pinch. Pinching with the knees is a very common fault as riders try to feel more secure in the jumping position, but pinching with your knee actually makes you less secure by creating a pivot point that makes you more likely to fall forward.
Instead, try to focus on keeping a firm, even contact throughout your entire inner leg and instead using your knees as shock absorbers (which is a lot more challenging!), rather than gripping with your knees.
Below your knees, retain calf contact by keeping your lower leg on the horse. This will reduce the likelihood of you gripping with your knees, and will allow you to continue to communicate with your mount. For instance, a lazy horse may need an extra “push” from your leg before the jump, and you may need to communicate a turn to the next fence after the jump.
For some more help with your lower leg position, read our guide here!
Ankles & Heels
Finally, let’s focus on your ankle and heels, which is where most of your weight will “sit”.
Your ankles should remain


