How to Ride the Counter Canter Successfully
There’s cantering on the wrong leg, and then there’s counter canter. When ridden correctly, it’s a useful training exercise for both obedience and balance. Plus, dressage riders will have to perform counter canter at shows if they want to progress through the levels. So, what are the benefits of counter canter, why do we ask […]

There’s cantering on the wrong leg, and then there’s counter canter. When ridden correctly, it’s a useful training exercise for both obedience and balance. Plus, dressage riders will have to perform counter canter at shows if they want to progress through the levels. So, what are the benefits of counter canter, why do we ask horses to do it, and how can you incorporate it into your schooling sessions?
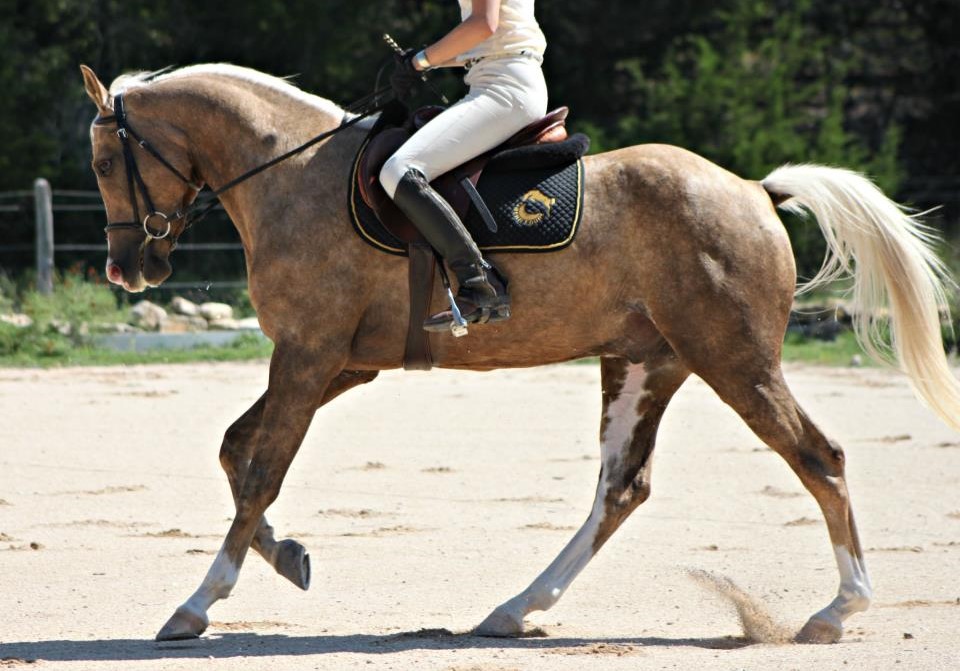
Firstly, it’s important to know the difference between a true counter canter and just cantering on the wrong leg. Of course, counter canter is something you ask for on purpose! It’s not the horse just picking up the wrong lead, but is an intentional way of asking the horse to canter with the outside leg leading. The horse is also bent slightly to the outside but remains in good balance and stays supple rather than hollowing or losing their balance.
How to Ride the Counter Canter
Before you ride counter canter, your horse has to be fairly balanced in true canter. You should be able to canter a 15m circle in good rhythm, and the horse should accept the contact and understand a half halt. Because the counter canter requires more balance and strength, it can be hard for the horse if the true canter isn’t established. Plus, it can also be confusing for a horse if they aren’t properly confirmed in the true canter yet.
Your horse should also be able to do a balanced transition from walk to canter, as it’s much easier to pick up counter canter from walk than trot.
The best way to introduce counter canter is by picking up a good, balanced true canter and changing rein across the short diagonal (e.g. from K to B) without changing the canter lead. You can then continue down the long side for a few strides in counter canter, eventually building up to going around the corners of the short side.
Here’s how you ask for your horse to strike off in counter canter on the right rein (i.e. with the left leg leading)
- Establish a good collected walk to ride a walk-canter transition
- Flex the horse slightly over the left leg
- Ask for the canter with ‘reversed’ aids – your right leg will slide behind the girth, while you’ll use your left leg at the girth and slightly cue the horse with your left seatbone to move up into canter
Once your horse has picked up the counter canter, remember that your aids remain reversed. To half halt, for instance, you’d need to use your outside rein – in this case, it’s your right rein. Though you should sit fairly straight, some horses find it easier to stay in counter canter if you keep your new inside hip (left) slightly forward so they understand they aren’t being asked to change legs.
Why is Counter Canter Useful?
Counter canter has two main purposes. Firstly, it’s a good exercise to actually improve the horse’s way of going in canter. Secondly, it’s also a good way to improve and test obedience to the aids.
How does counter canter improve the true canter and the overall way of going? Because the horse is naturally crooked, especially in canter, counter canter’s primary benefit is improving the straightness. Although it’s useful for any horse, it’s particularly beneficial if your horse has a tendency to canter with the hindquarters drifting inwards or who fall out through the shoulder.
Aside from straightness, it also helps improve strength, agility, balance, and suppleness. As always, the scales of training are fairly interrelated! Because obedience and understanding of the aids are needed to maintain the counter canter without losing rhythm, changing legs, or falling into trot it can also be a useful exercise to establish and develop better obedience to the seat and leg aids in particular.
Additionally, the counter canter acts as a stepping stone or springboard toward higher level work in the canter, the same way that a shoulder-in prepares horses for more advanced lateral work.
Because counter canter is often taught alongside flying changes – which are frequently ridden from counter canter into true canter in the early stages – there is often some debate about which to teach first. Most dressage riders opt to teach the counter canter first to establish the understanding of the canter aids and to ensure the canter is balanced enough to collect in preparation for a good flying change. However, many jumping riders prefer to teach flying changes first as they’re far more essential for riding smooth and accurate courses than counter canter.
Common Problems in Counter Canter
When counter canter is first being introduced, there are some common problems. The first is that the horse might fall out of the canter into a trot. This is a balance issue, and will almost always be worse if you ask the horse to go around a corner or turn in counter canter. In these instances, you should only ask for a few strides of counter canter on a straight line before coming back down to walk or trot, slowly building strength and balance over time. Working on improving balance in the true canter will help too.
Another common hurdle riders face is a change in the overall rhythm, tempo, and frame of the horse. Again, this is usually related to balance and suppleness. Stick to straight lines and large, sweeping curves or turns if necessary until your horse is ready to make them smaller. It’s also important to make sure you don’t tip forward in the saddle in counter canter as this can further unbalance your horse and add to the loss of rhythm.
Finally, seeing horses going crooked or bending in the wrong direction is another common fault in the counter canter. Make sure to keep the hindquarters on the track and don’t let them drift in or out. It’s also important to keep the flexion over the leading leg, slightly to the outside. Riding the horse correctly flexed and bent means you benefit from the suppling and straightening effect of the counter canter.
As you begin to teach flying changes, many horses also go through a phase where they find it difficult to distinguish between when to offer the change and when not to. When this happens, you might find that your horse (who previously did a lovely counter canter!) now wants to do flying changes and isn’t so keen to stay in counter canter anymore. This is typically just a phase in their development and gradually goes away with time, practice, and understanding of the aids.
Three Counter Canter Exercises to Try with Your Horse
Want to try and add some counter canter to your sessions? Here are some exercises separated by your horse’s level of schooling.
- Novice
Often, counter canter is introduced by riding a loop through X in canter. However, this variation allows you to introduce it earlier on in the horse and rider’s education. Pick up the right lead canter towards K. From K, ride to the centerline as if you were riding a loop through X. Instead of riding back to the wall and finishing the loop, continue straight on the centerline towards C, before turning through the corner and continuing on the right canter lead.
To progress from this, begin to ride a loop through X in canter, increasing the steepness of the curve as you become more proficient, and then move on to cantering across a short diagonal and remaining straight on the wall in counter canter for a few strides.
- Intermediate
If your horse can already do some basic counter canter work and you want to improve the quality and balance, this exercise can be valuable. Pick up the left canter towards F, then ride a short diagonal change of rein towards E. Stay in counter-canter in the second half of the long side and through the short side of the arena. The more advanced your horse, the deeper into the corners you can ride. If they are still green, ride the short side more like a half 20m circle than a true short side to make it easier for them.
From R to K, ride a medium canter change of rein and then collect the horse and ride into the corner before A on the left rein. You’ll now be back in true canter and can repeat the same pattern as needed. This helps to build adjustability in the counter canter, can make the hind legs more active and help the horse to engage. It’s also a good exercise to test horse and rider straightness.
- Advanced
For horses who are already confirmed in their understanding and performance of counter canter, you can increase the difficulty and prepare for flying changes by incorporating 20m circles into your counter canter schooling.
There are a few ways to work on this – one popular option is a figure of eight with one circle in true canter and one in counter canter. Another is a 20m counter canter circle with two smaller 10m circles in true canter at the 12 and 6 o’clock positions of your larger circle.
Finally, you can also work on a 20m circle riding simple changes without changing direction. Essentially, you will ride walk-canter-walk switching the lead from true to counter canter in each upward transition, but while always travelling in the same direction. A 20m circle to the right at one end of an arena would, for instance, go something like this:
- Walk to true canter transition at A
- Canter to walk transition between K and L
- Three to five walk strides
- Walk to counter canter transition before the wall between L and F.
This is a very useful precursor to flying changes as it tests the horse’s understanding of the canter lead aids, and improves their ability to sit and push from behind. As they become quicker in the transitions, you can eventually begin the flying changes by skipping the transition to walk and simply changing from counter canter to true canter, using their natural anticipation of a transition to help you.
Conclusion
Counter canter can be a very useful exercise for improving balance and straightness, as well as a good way to introduce harder canter work further down the line. What are your favorite counter canter exercises? Leave us a comment to let us know!


